$4.95 / mo
How to fix broken 3D models so you can 3D print them
This guide will walk you through how to fix those broken 3D models so you can successfully slice and print them.

If you’ve ever downloaded or created a 3D model, opened it in 3D Viewer or REALvision Online, and found it looked fine—only to discover it won’t slice or 3D print properly, you’re not alone. This is one of the most frustrating steps in the 3D printing workflow: when your model looks okay but fails behind the scenes.
Don’t worry—this guide will walk you through how to fix those broken 3D models so you can successfully slice and print them.
Step 1: Understand the problem
3D Viewer, the free app from Microsoft, is great for previewing .STL, .OBJ, or .3MF files. But here’s the catch: just because it opens and looks fine doesn’t mean it’s print-ready.
Typical issues that prevent slicing:
- Non-manifold geometry (edges shared by more than two faces)
- Holes in the mesh
- Inverted normals (surfaces pointing inward)
- Self-intersections
- Floating or disconnected mesh pieces
These errors confuse slicers and can result in missing layers, holes in your print, or outright failure to slice.
Step 2: Use mesh repair tools
Here’s how to diagnose and fix the model using free or built-in tools:
Option A: Use Microsoft 3D Builder (free, Windows)
Even though 3D Viewer doesn’t have repair tools, 3D Builder, another free Microsoft app, does!
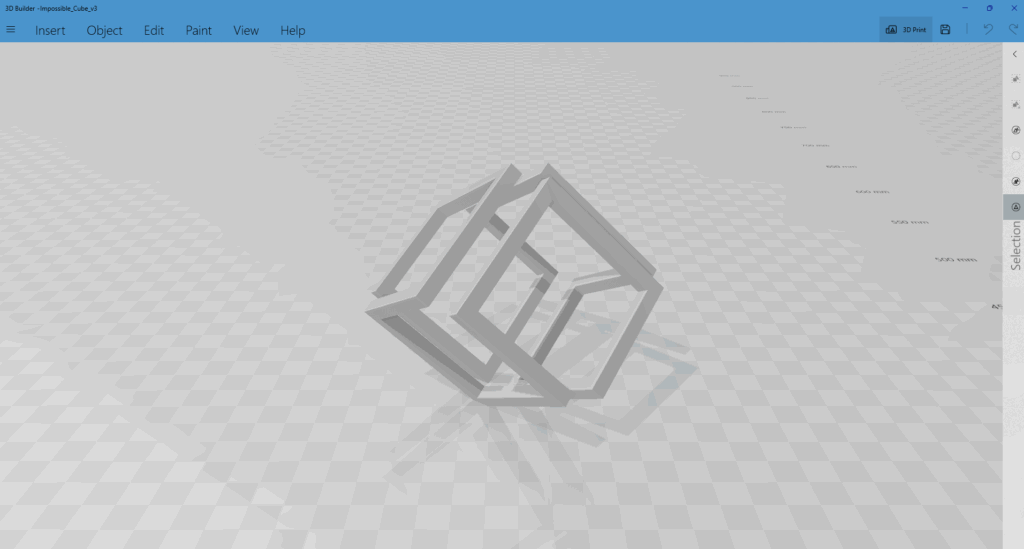
- Open your model in 3D Builder.
- If there’s a problem, it usually asks to repair automatically when loading. Accept it.
- If not, go to “Edit” > “Repair” manually.
- Save the file as a .STL or .3MF.
📝 Tip: 3D Builder is surprisingly good at automatically repairing broken meshes.
Option B: Use Meshmixer (free, Windows)
Autodesk Meshmixer – downloadable here – claims to be the “Swiss Army Knife” for 3D meshes. Its Auto-repair function comes in handy to fix your models.
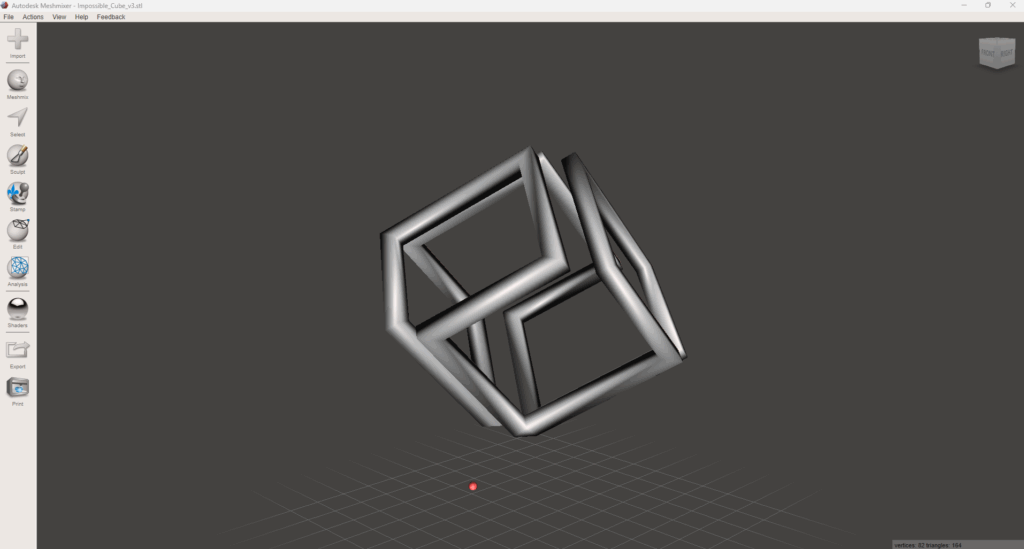
- Open your model.
- Go to Analysis > Inspector.
- Meshmixer will highlight and attempt to fix problems.
- Click “Auto Repair All”.
- Export as .STL.
Option C: Use TinkerCAD (free, Online)
Tinkercad is a free, browser-based 3D modeling tool by Autodesk. While it’s not a mesh-repair tool like Meshmixer, it has a side effect: when you import and export a model through Tinkercad, it often auto-fixes basic geometry issues like:
- Non-manifold edges
- Holes in the mesh
- Intersecting surfaces
- Misaligned normals
It essentially “remeshes” the model in a printable format when you export it.
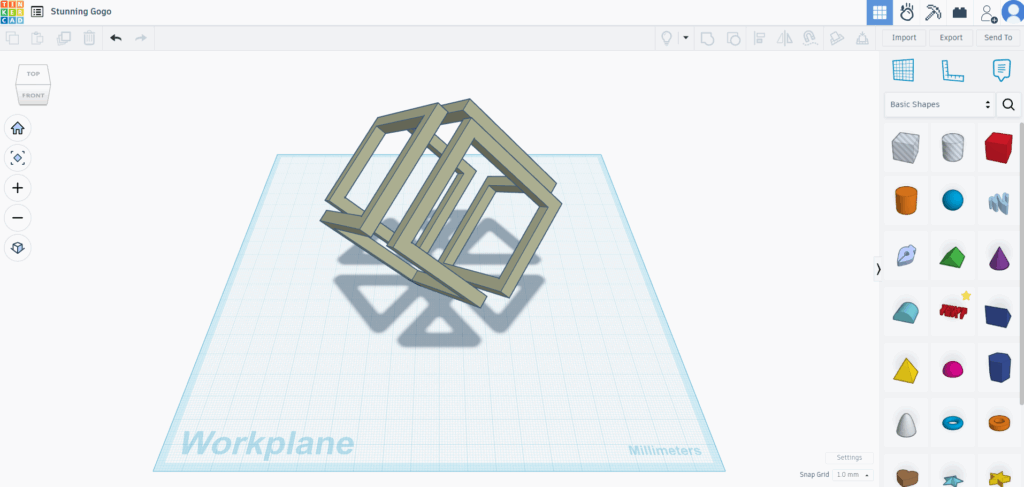
- Go to tinkercad.com
You’ll need a free Autodesk account (email, Google, Apple, etc.) - Create a new design
Click “Create New Design” from your dashboard. - Import your broken STL
Click “Import” in the top-right corner.
Choose your .stl file and upload it.
Wait for the model to appear - (Optional) Do some cleanup
You can group or merge parts if needed.
You can also add a tiny shape (like a cube) and group it with your model—this forces remeshing internally. - Export the repaired model
Click “Export” (top-right)
Choose “.STL”
This will generate a new file that’s typically “cleaned up”
Step 3: Test the fixed model
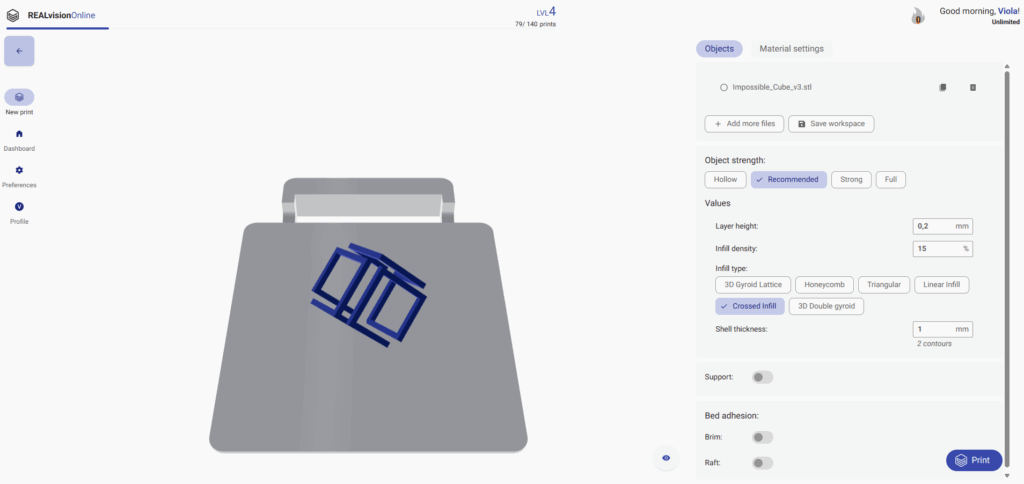
Once repaired:
- Open REALvision Online
- Load the repaired model.
- See if slicing now works without errors.
If it’s working—🎉 you’re good to print!
