$4.95 / mo
How to make any 3D model Voronoi in 3 easy steps
Here is how to create Voronoi pattern easily on any 3D model.
There are lot of 3D models on Thingiverse and similar pages with Voronoi pattern.
But what if you can’t find the exact model you want?
And what if I told you that you can easily turn any 3D model into Voronoi?
Follow the three simple steps below to do just that:
1. Import the model
We are going to use Meshmixer, a free design tool. You can download it here.
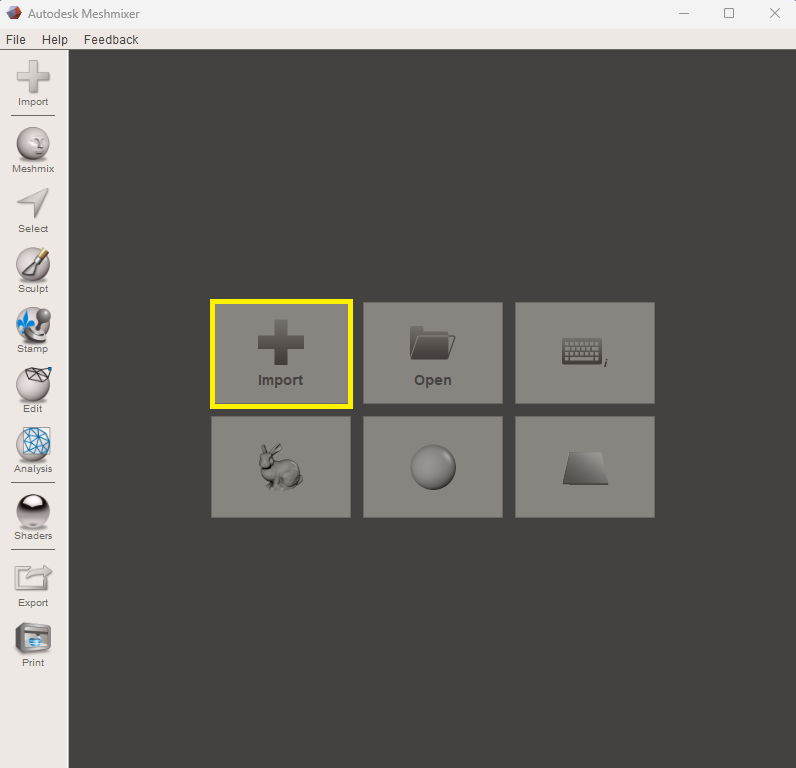
Open the program and choose the Import option to import the model of your choice.
2. Reduce the mesh
Once the model is imported, you need to reduce the mesh to make larger polygons (triangles). These polygons define the spacing of our Voronoi pattern.
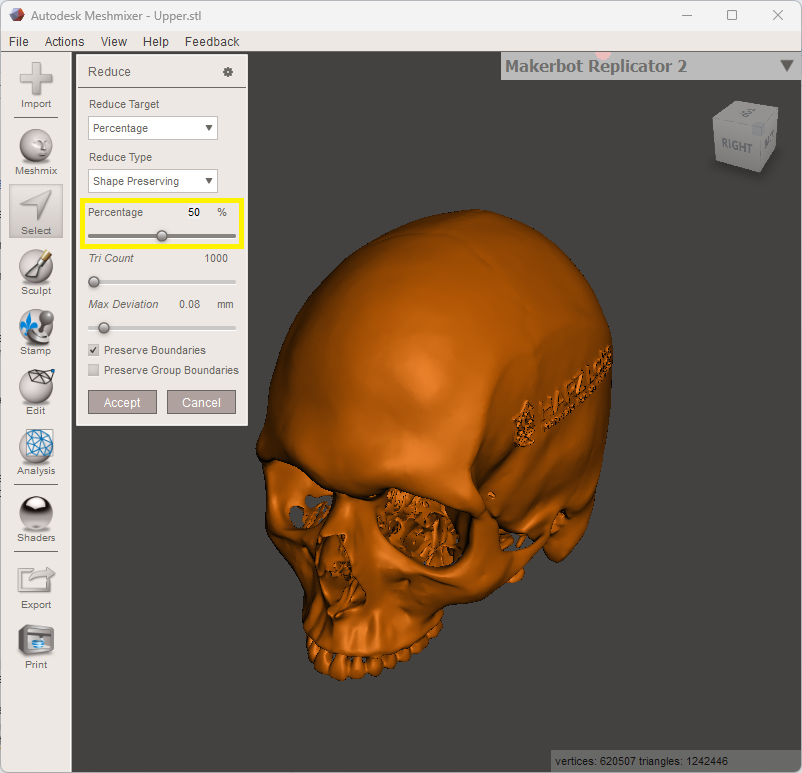
- Select the model: Press “Crtl+A”
- A menu will pop up
- Go to Edit/Reduce
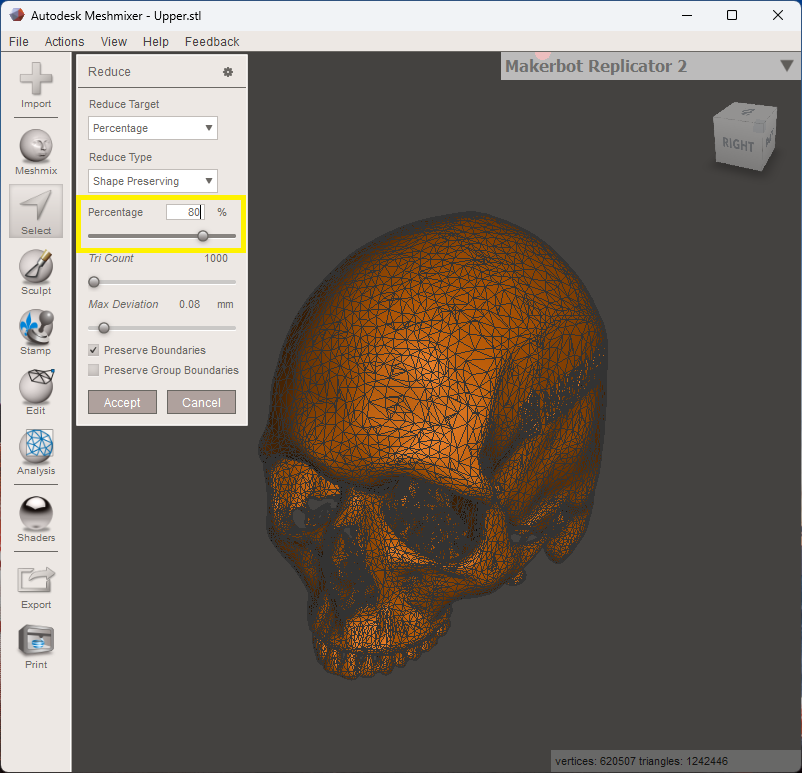
- Increase the Percentage with the slider or by typing the percentage amount to lower the number of polygons. Higher percentage results in larger openings in your final model. E.g. 80% will give larger openings than 50%. By pressing “W” on your keyboard you turn on the Wireframe view, which makes it easier to see the results.
- Click Accept
3. Make the Voronoi pattern
Now you need to change the pattern type of the model and set the desired dimension to get the Voronoi adjusted to your liking.
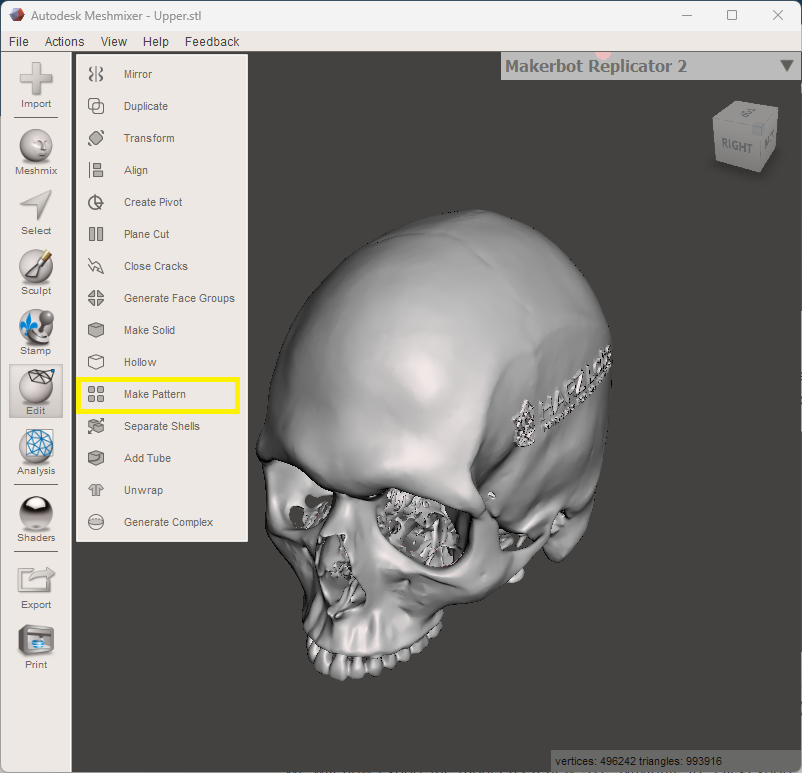
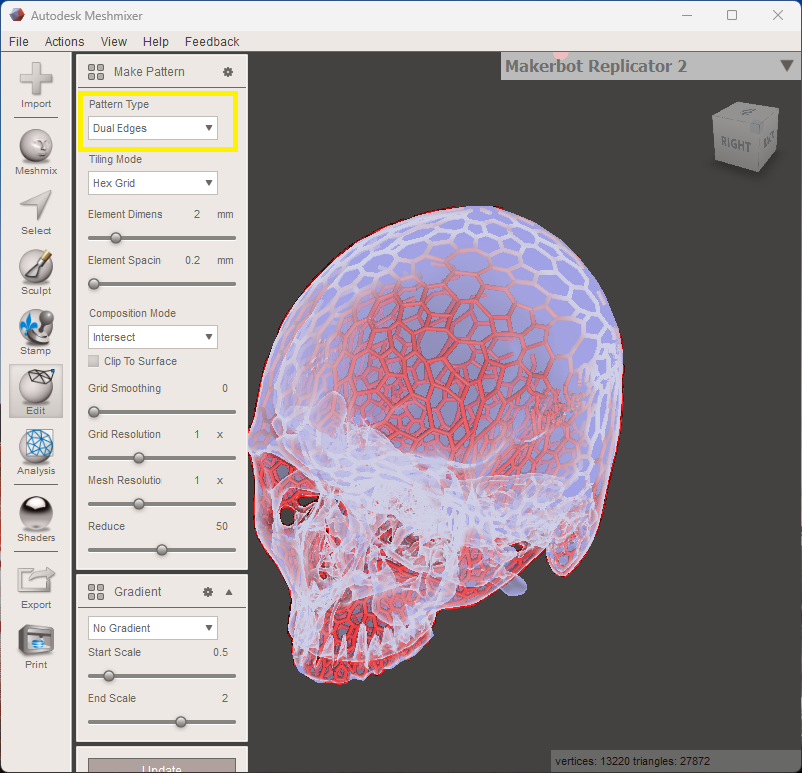
- Go to Edit/Make Pattern
- A menu will pop up.
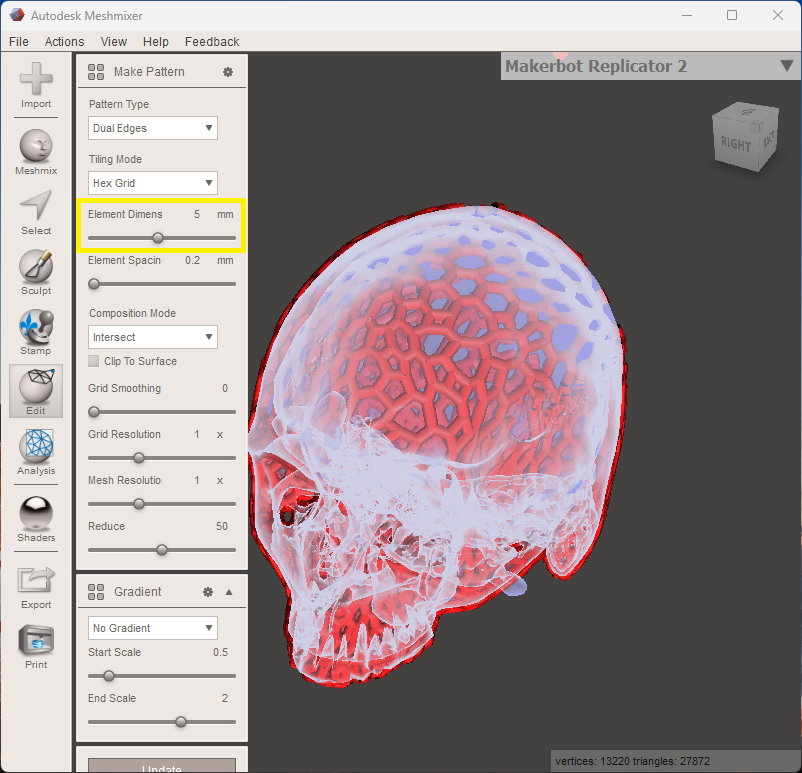
- Change the Pattern type (first drop-down) to Dual Edges or to Mesh+Delaunay. You can change the Element dimensions to make thicker or narrower tubes.
- Save your model: File/Export .STL
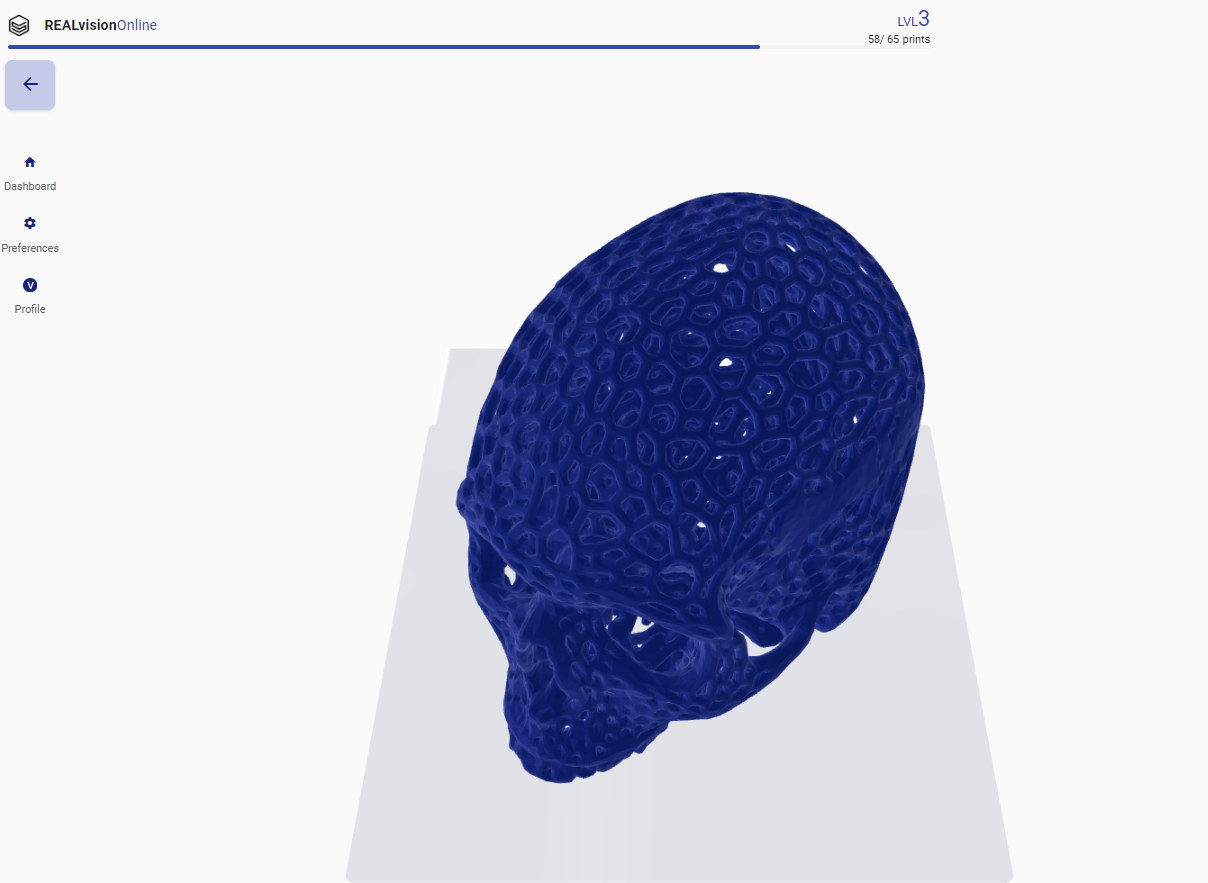
Now you just need to import your own Voronoi model to REALvision Online and you are ready to print!
Happy printing!✌️
Start printing with REALvision Online

