Learn the fundamental principles of 3D printing with
REALvision Online's Makers Academy. Complete the academy
lessons, and become a great Maker!
3D printing doesn't have to be difficult, let me help you
through your first prints, and teach you the basic
principles of printing 3D objects.
-
no credit card needed
How to print using REALvision Online:
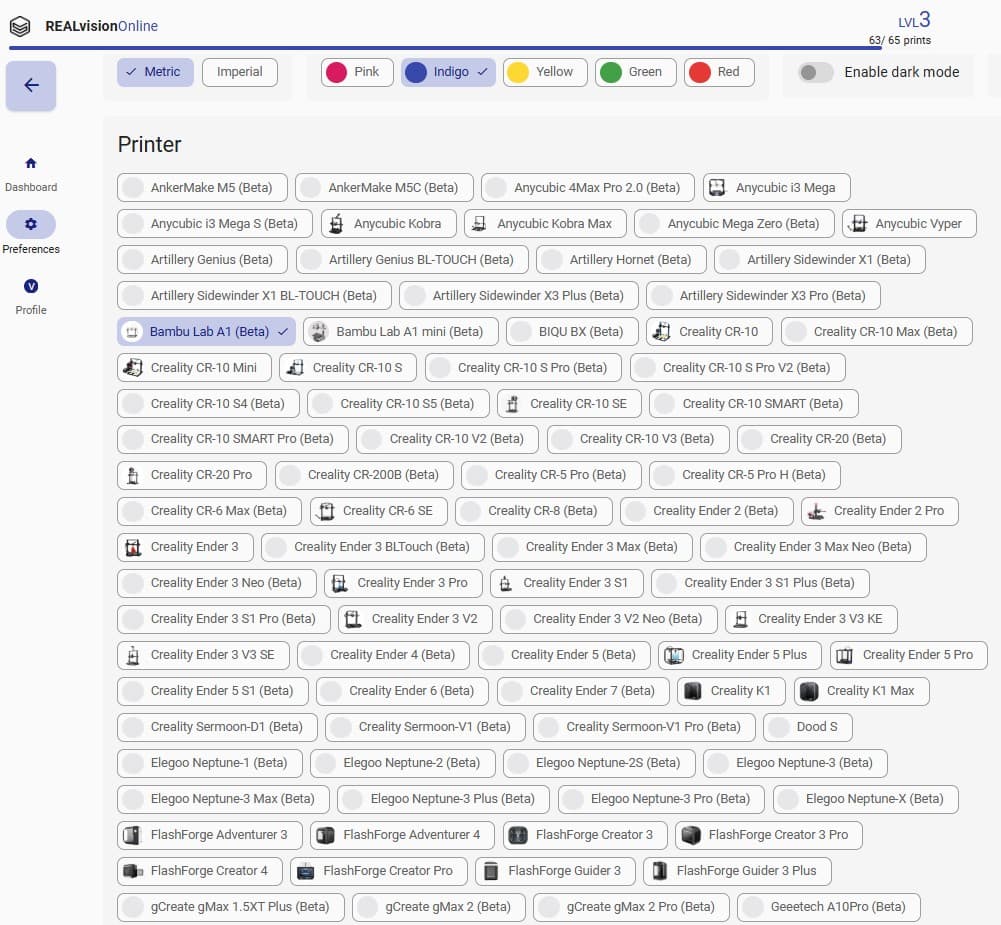
1. Choose your printer
2. Upload your STL files
3. Scale, rotate, and position your model
4. Set your settings
5. Print
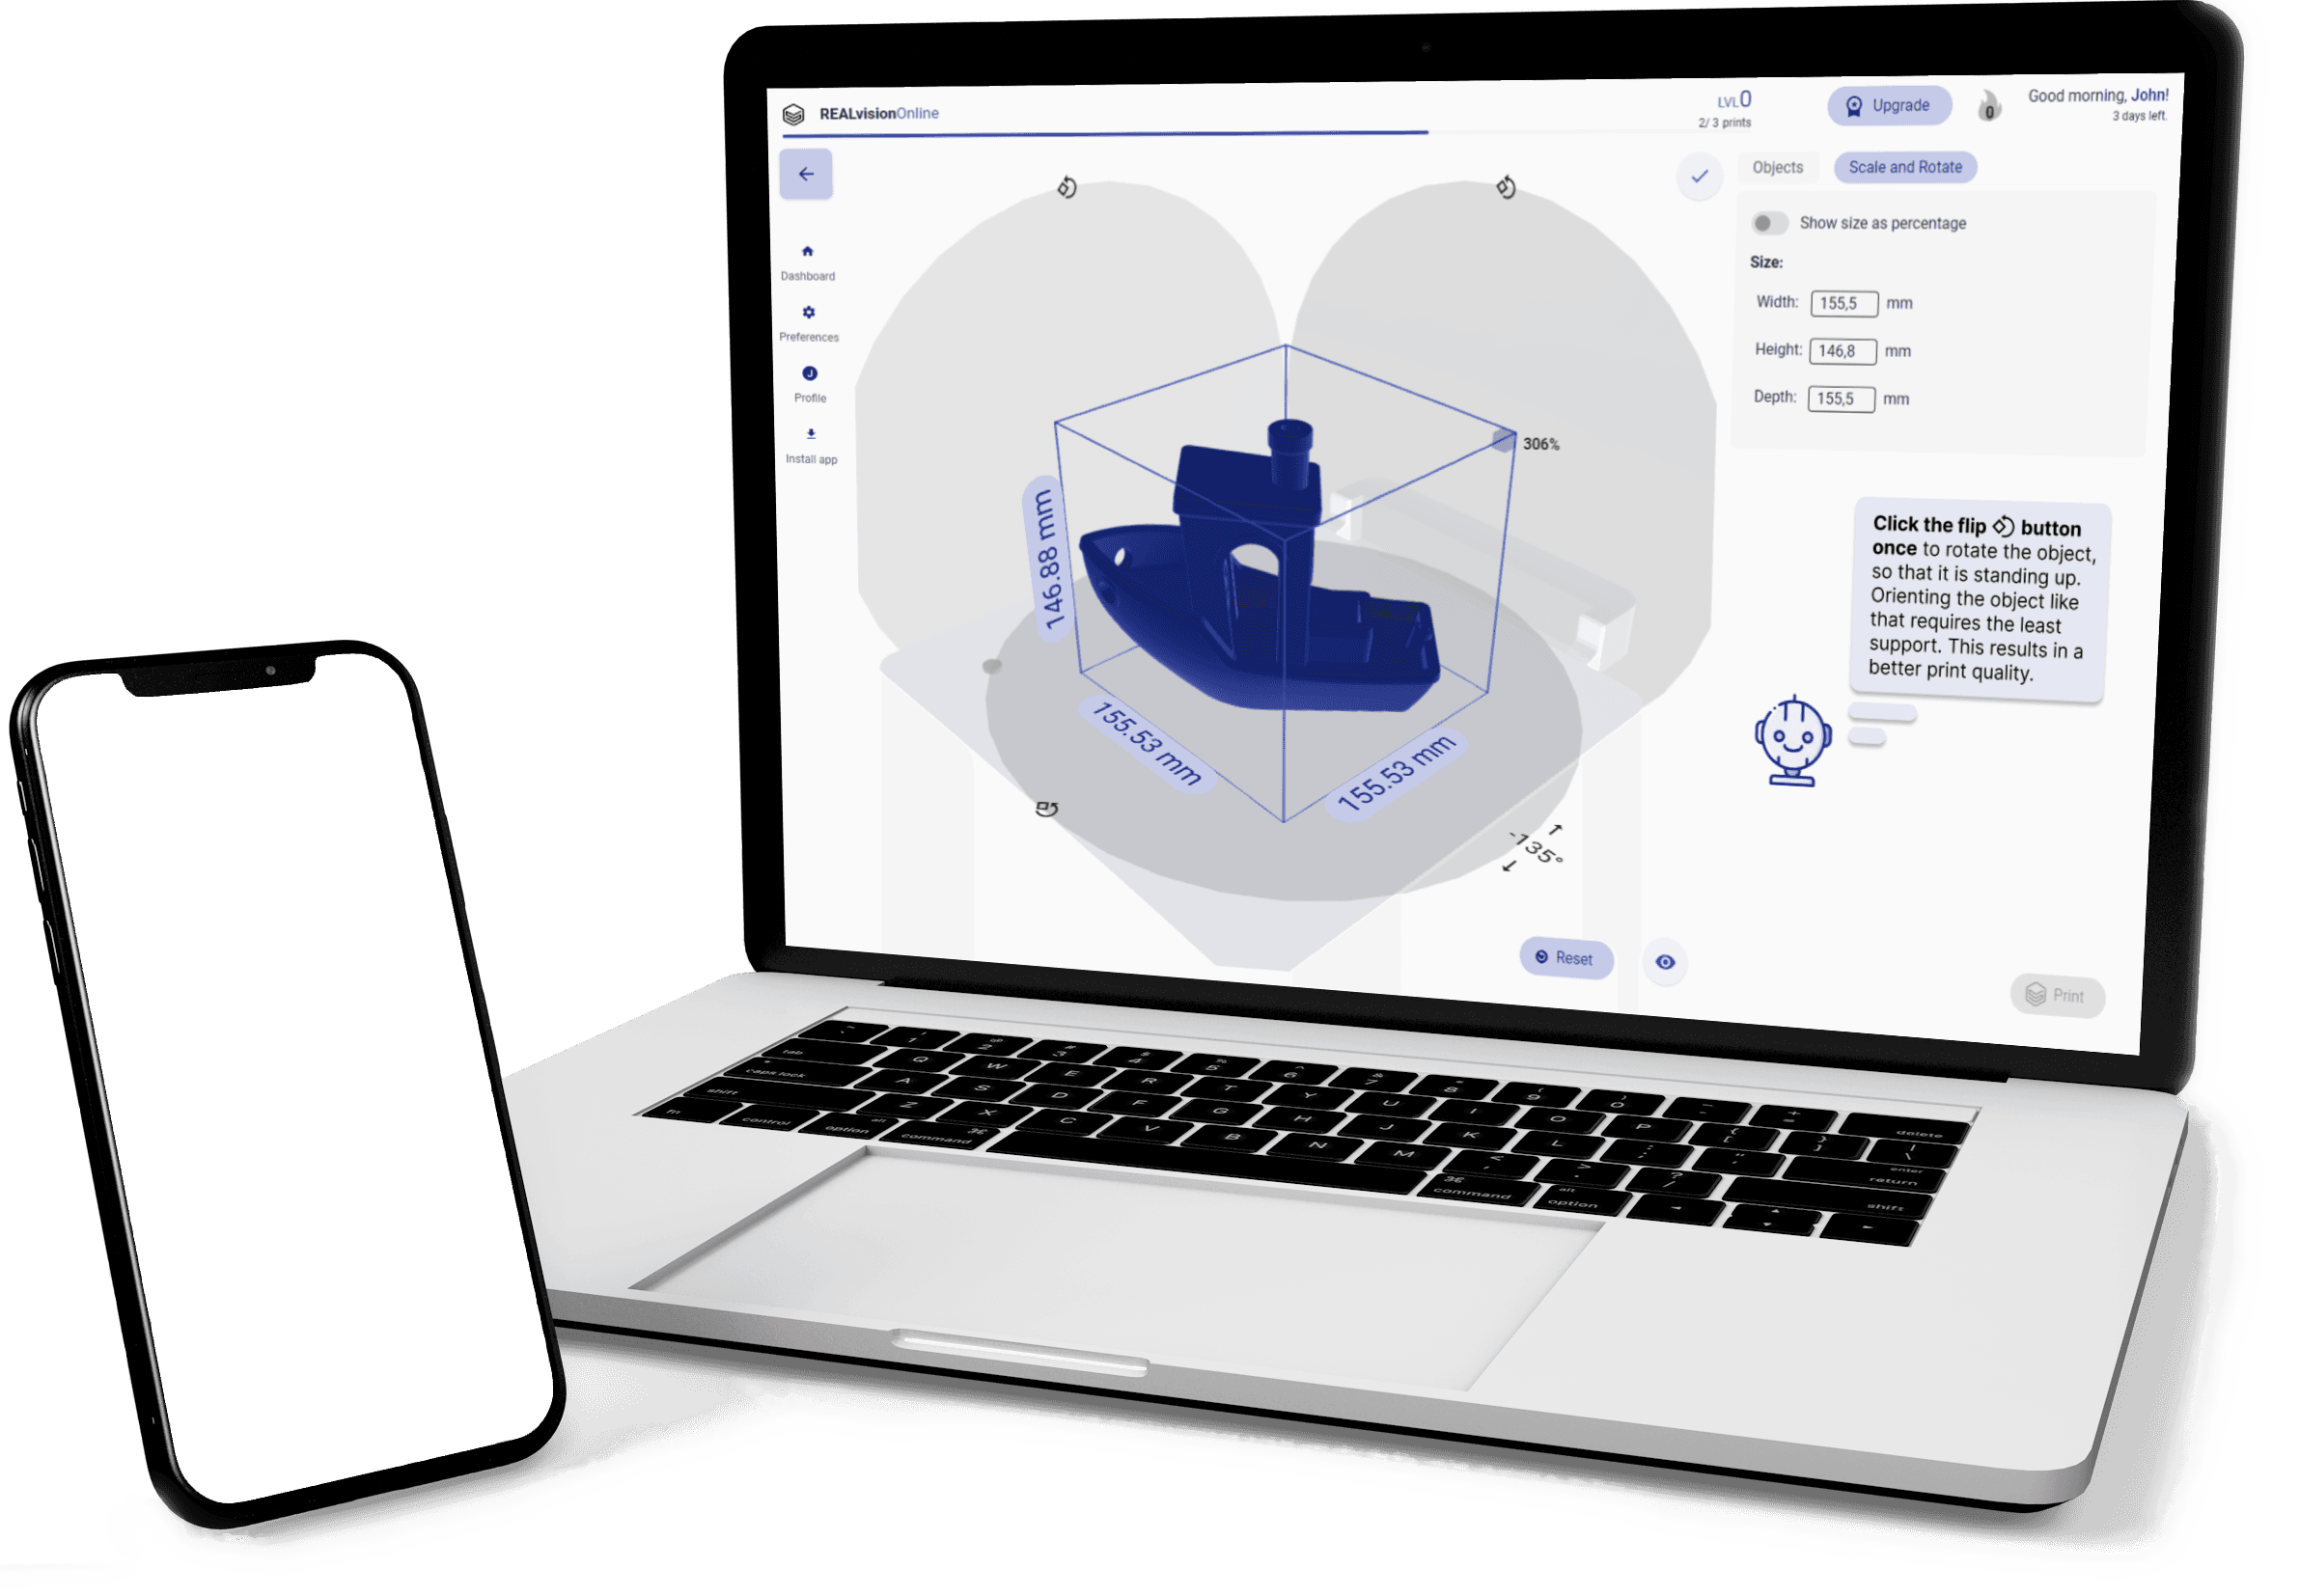
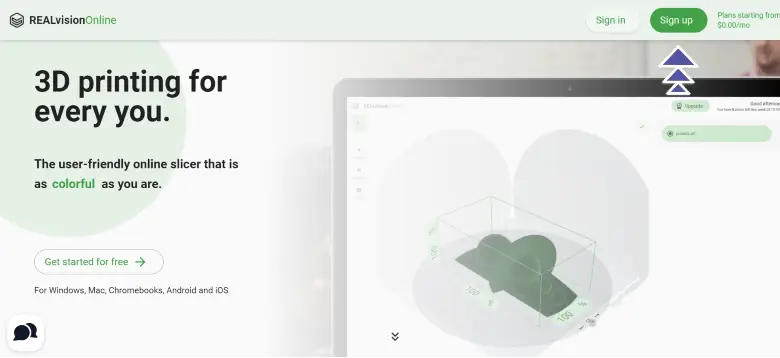
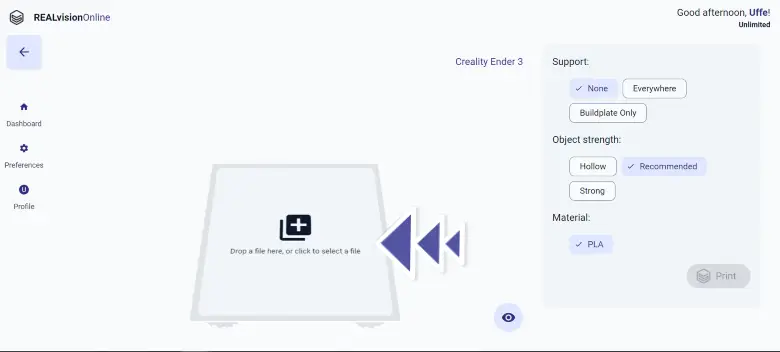
The intuitive online 3D printing slicer
Experience the easy-to-use browser-based 3D print slicer.
Rotate, scale and slice multiple objects without installing any software - it all happens in your browser.
With REALvision Online you can:
Get improved print speed
Preview of 3D models before print
Scale, rotate, and position as needed
Choose between 22 different printers
Get accurate print time estimates
Seamlessly convert your STL files to G-code
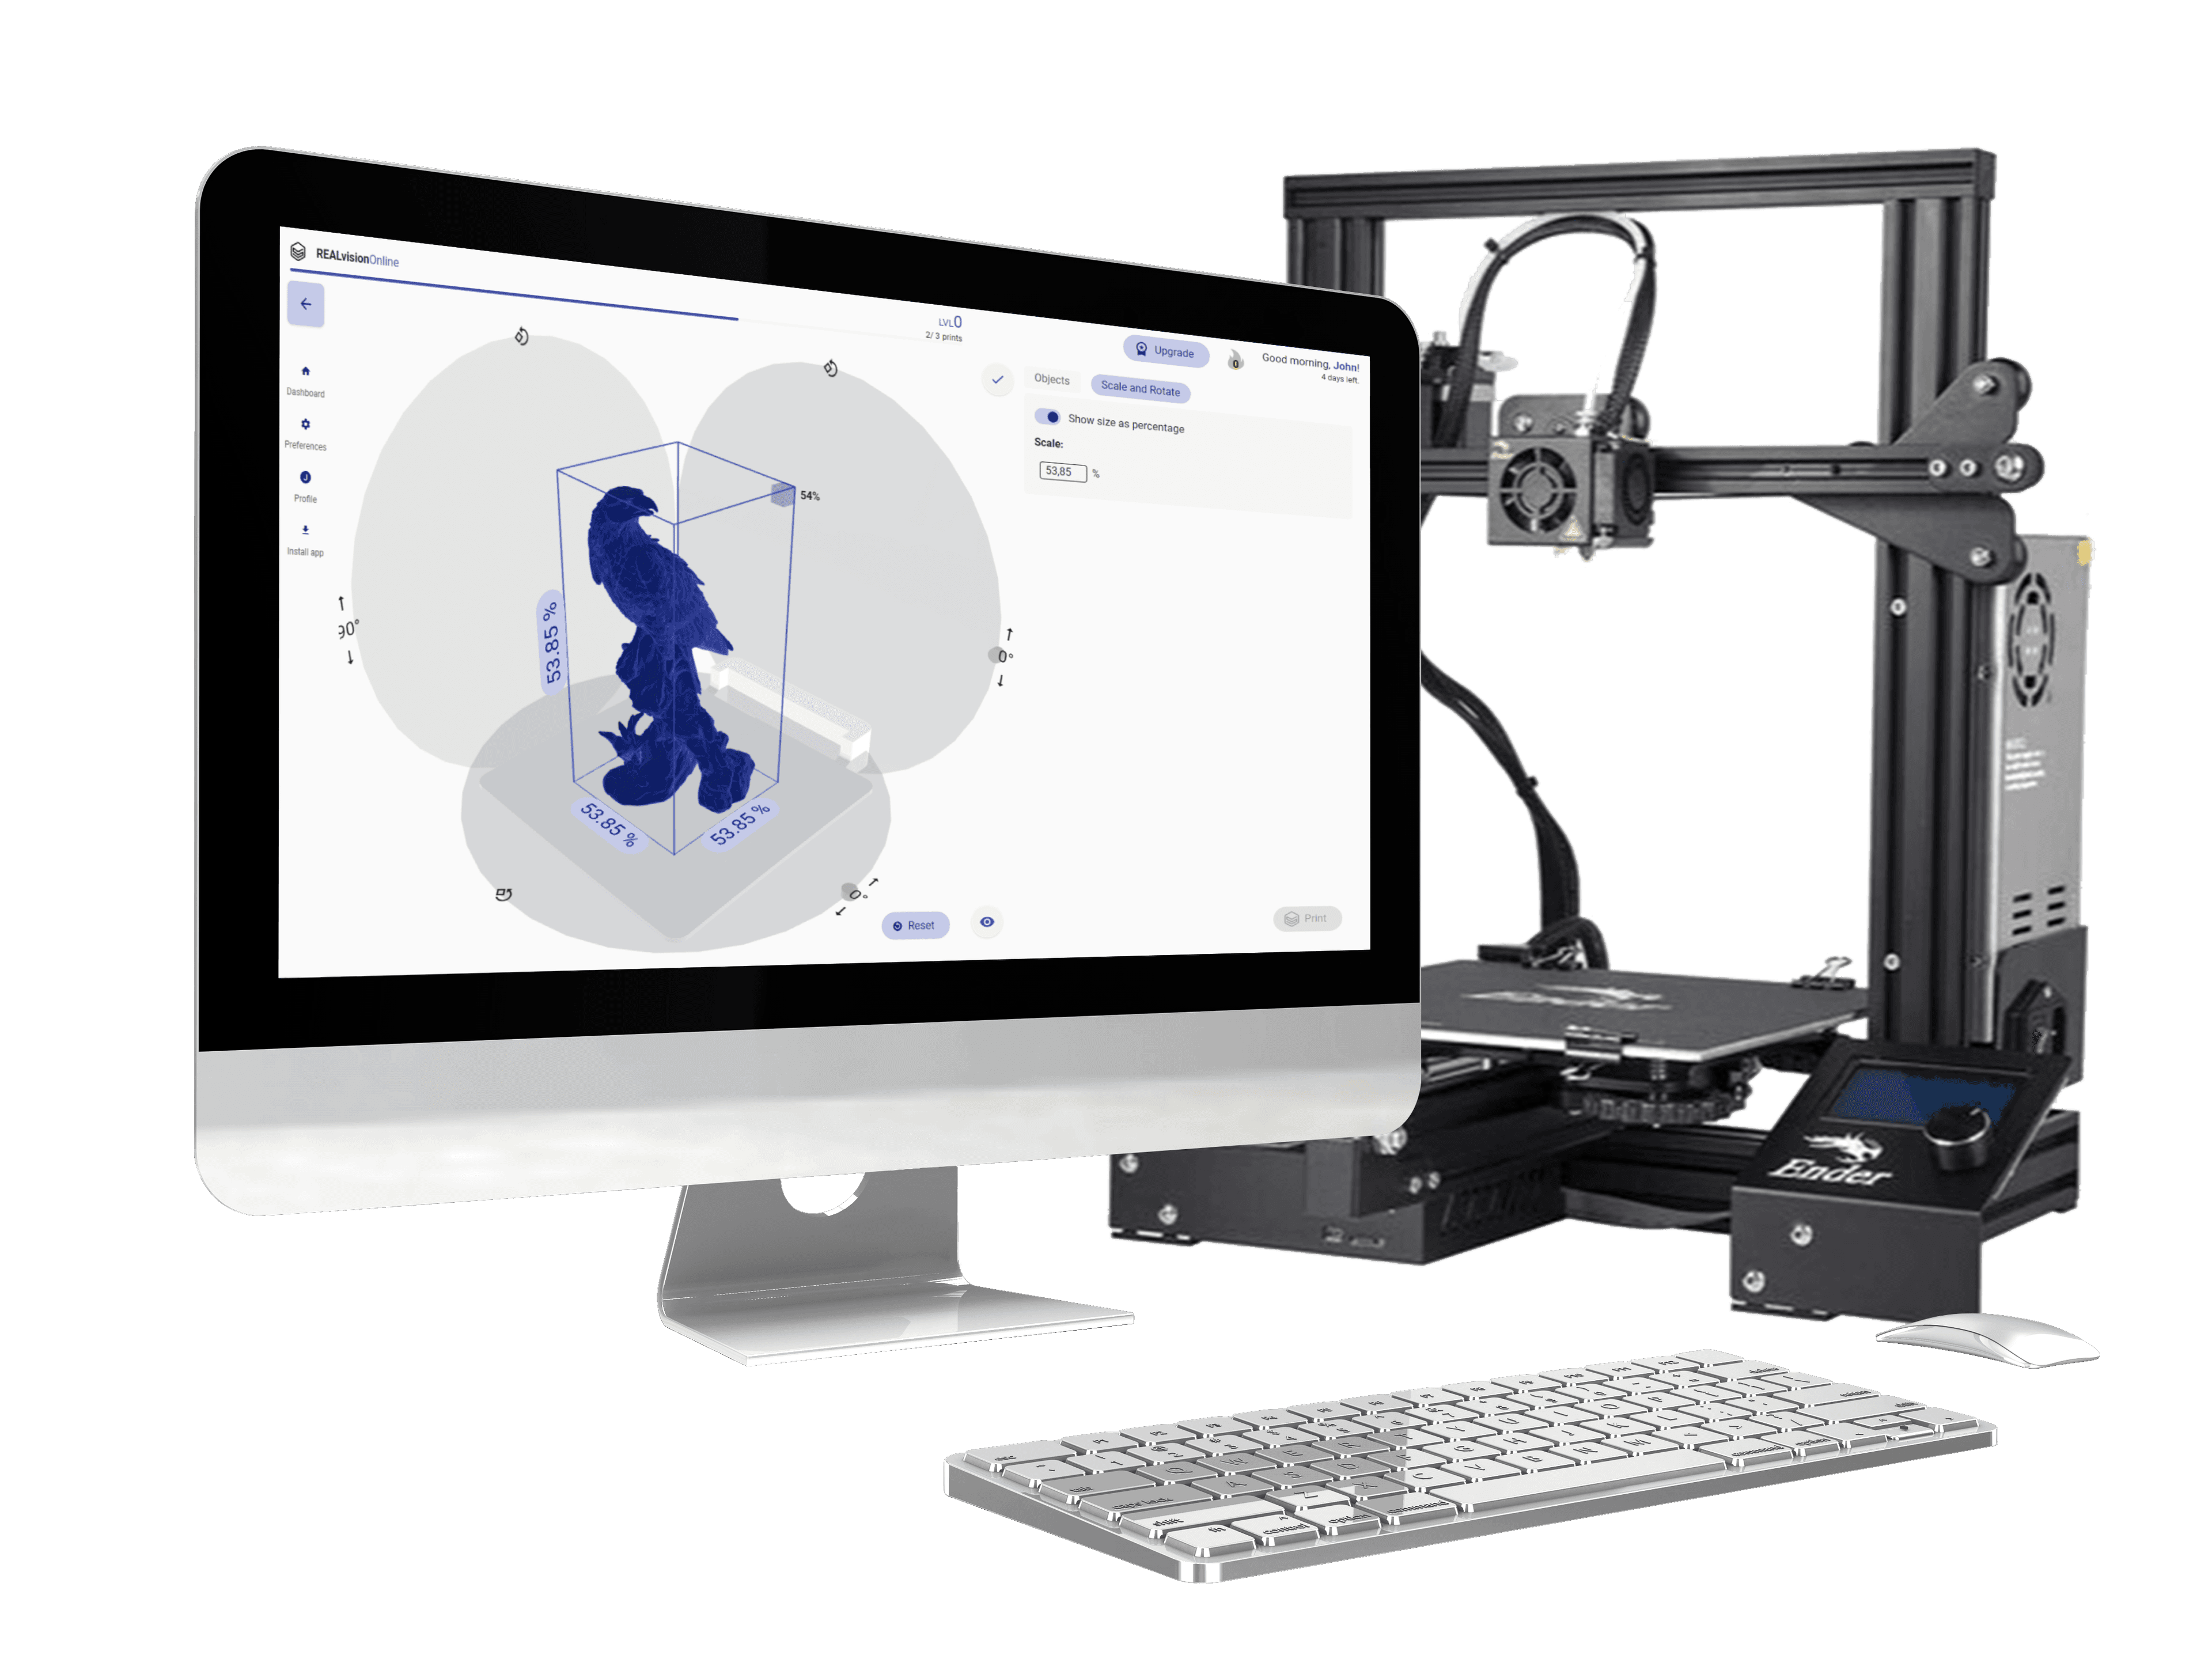
With RVO, you can upload your STL files and view them before print. The well-tested printer profiles help you get a perfect result.
When you are happy, you click to convert your file and make it ready for 3D printing. RVO will even tell you the print time and how much filament you will need to print successfully.
An end to end guide to printing your first simple keychain
By: Viola
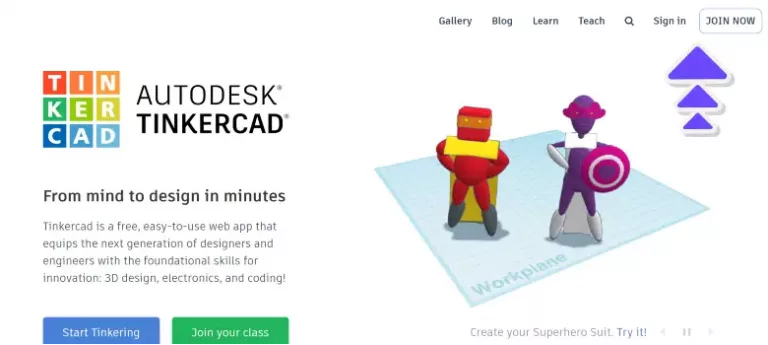
It is fun to walk around with a keychain that you have designed and printed yourself. The good thing is that 3D modeling doesn’t necessarily have to be complicated, you can quickly get started with the free intuitive 3D modeling software TinkerCAD and 3D print slicer tool REALvision online, on Windows, Mac, and basically on any device.
In this guide, I will show you how to create your keychain, and how you prepare it for 3D printing. I will walk you through the complete design process step by step. Let’s get started so you can have your own masterpiece in your hands.
How to design your own keychain with TinkerCad
You can start by signing in or creating an account at TinkerCAD. Before you do this, it can be a good idea to sketch your 3D model simply just with paper and pen, to help you to visualize your 3D object as it might not be easy to think in three dimensions if you don’t have much experience in 3D modeling.
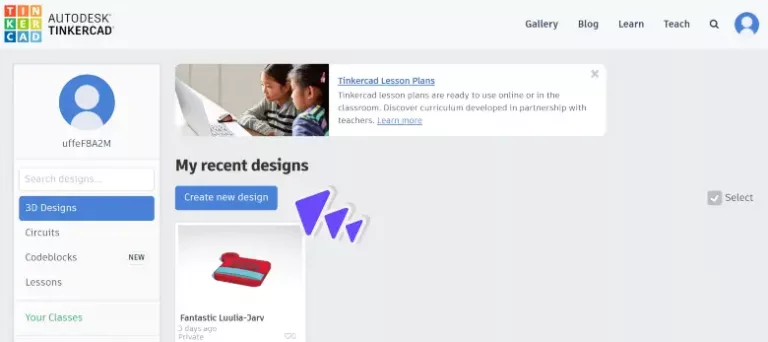
When this is done, you can move on to TinkerCAD, after logging in, you will find yourself at the dashboard. From here you will be able to see all your earlier creations. Click “create new design” to get started with 3D modeling.
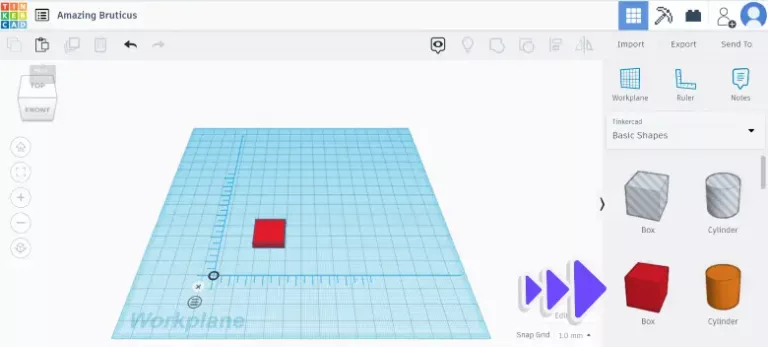
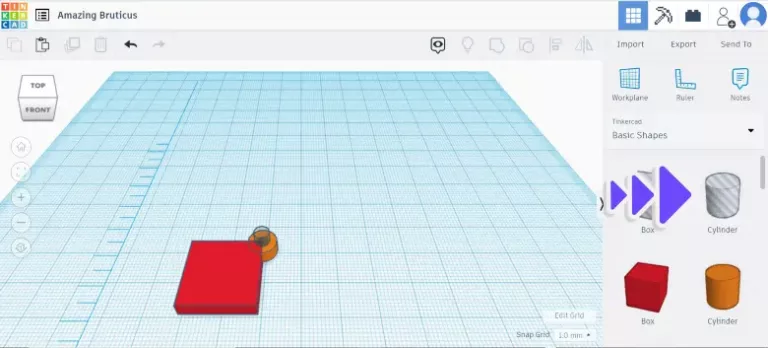
Now you will find yourself in the TinkerCAD workspace. To start making a keychain, you choose the red box to your right. Don’t worry about the color, as your keychain will be the color of your filament
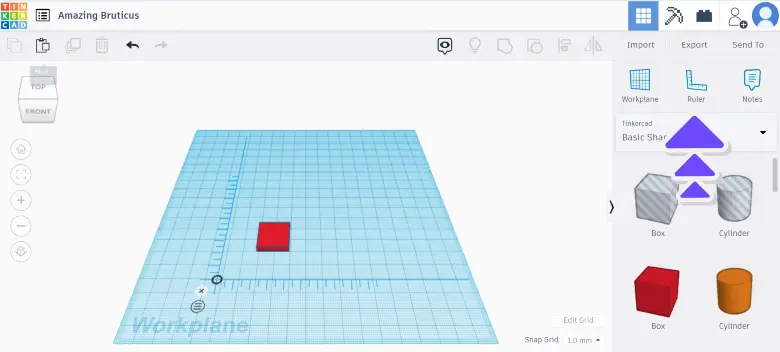
At the top, there is a ruler. Add it next to your box so that you can see the 3D dimensions. The dimensions are shown in mm, so 20 is 2 cm.
You can stretch the box if you want to have it wider, but I have decided to make my keychain a square for this example. In the picture, I have set the height to 4, so it will nearly be half a cm thick.
How to make a hole for your keys to fit
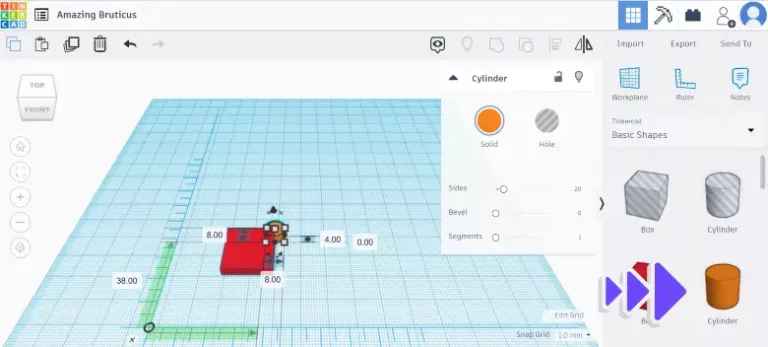
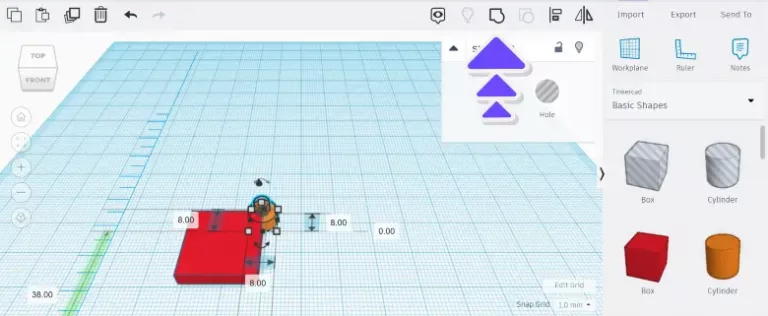
Next, you would like to make a hole for your keychain. You do this by first adding a solid cylinder in the corner and making the height the same as the box. In the example, the length and the width of the cylinder are 4mm each.
Then add another cylinder in the middle of the first cylinder, but this one needs to be a hole.
Hold down Shift and click on the two cylinders. Then click the group bottom
Now you should see a nice hole inside the cylinder. If yes, then you can group your new cylinder with the box. Maybe you already guessed it, but you have now made the hole for where your keys are going to fit.
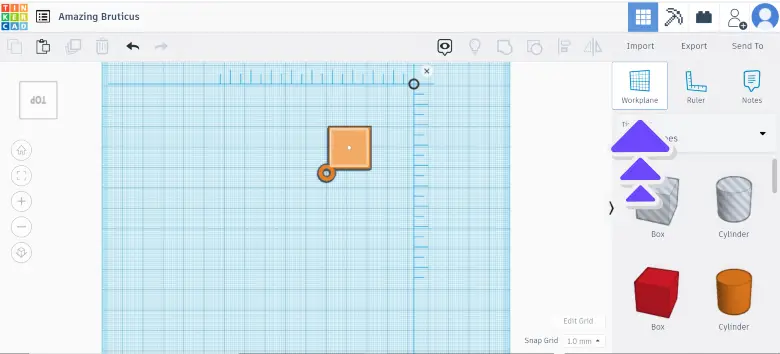
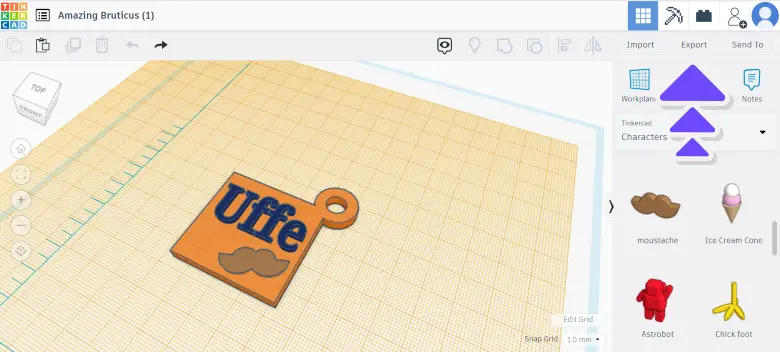
If you would like to put your name on top of the box, click the button “Workplane” in the right top corner.
A blue square should appear, and when you place that on your model, the whole workplane should turn yellow. By adding another workplane, you are telling Tinkercad that everything you put on this workplane should be on top of what’s beneath it, enabling you to create something that pops out of your keychain.
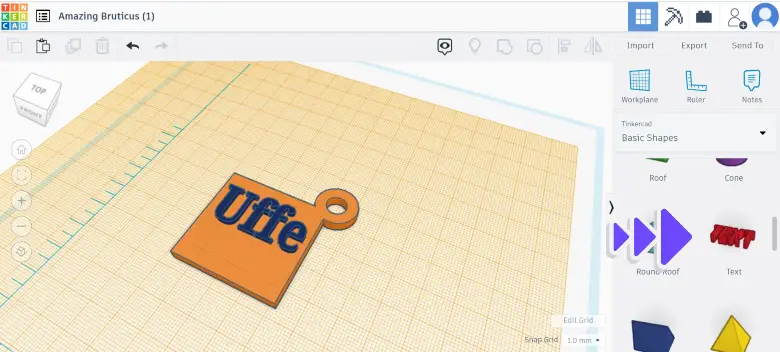
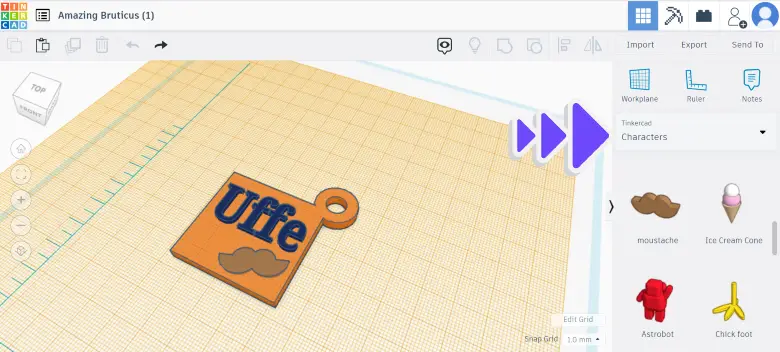
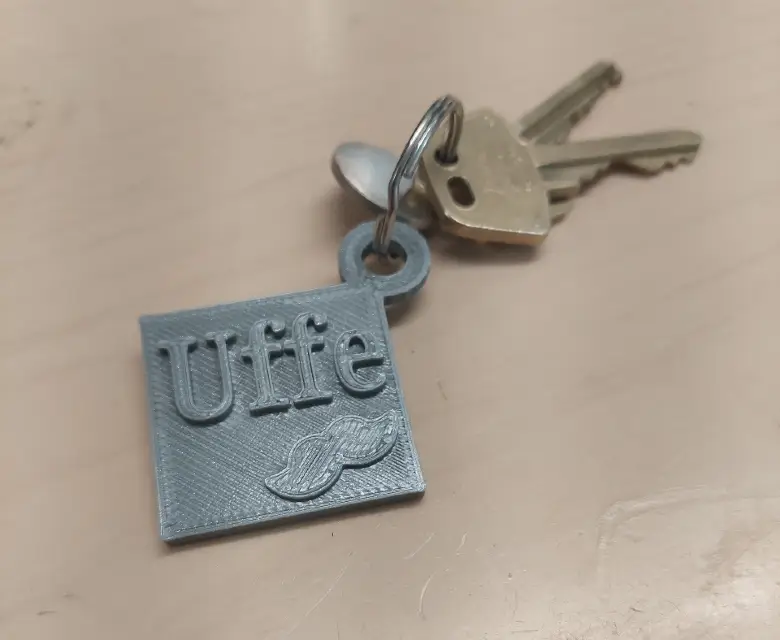
To the right, you can choose to put text in the model. My name is Uffe, which is why I choose to put on that.
I have set the text height to 2, so it doesn’t stand out too much. You can also choose to put on other elements. I have decided to put a funny mustache at the bottom to give the keychain another 3D effect. You can also put on hats, eyes, and many other things if you like.
When you are happy with your keychain, click export.
Choose .stl and save it on your computer. The stl. file formatis the format that your slicer tool uses when preparing your model for 3D printing.
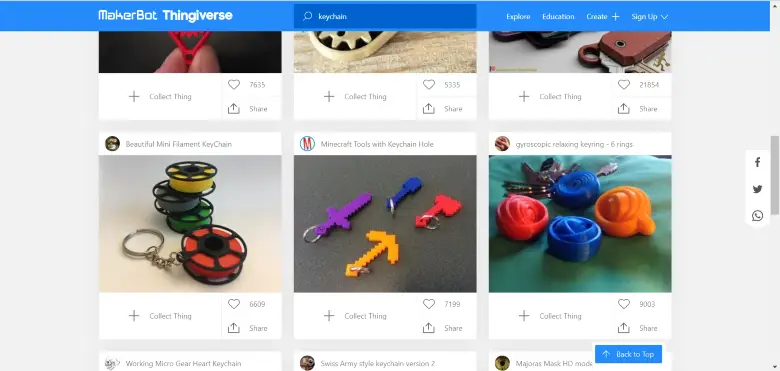
How to find cool designs on 3D file portals
The fastest way to get a fantastic self-printed keychain is to download a design from one of the many portals offering free 3D models.
When you find a model you like, you click download and save it in STL format.
How to slice your 3D keychain
When you have drawn your model or found it on a portal, you will need to prepare it, so your 3D printer can correctly place the layers of filament in the proper order.
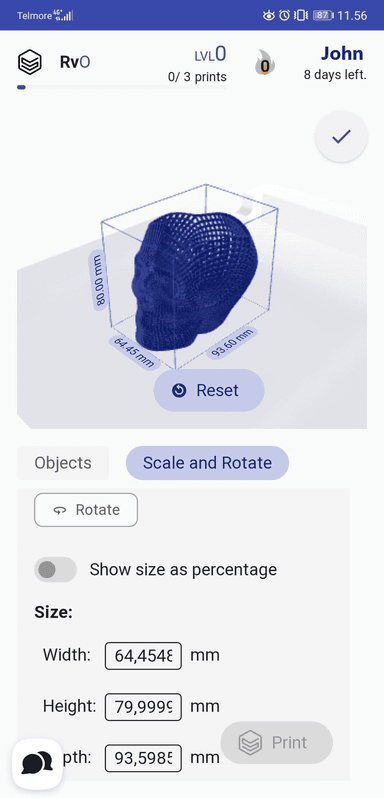
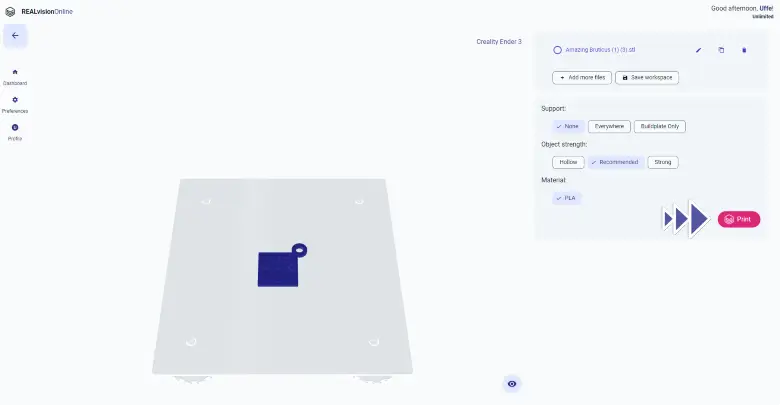
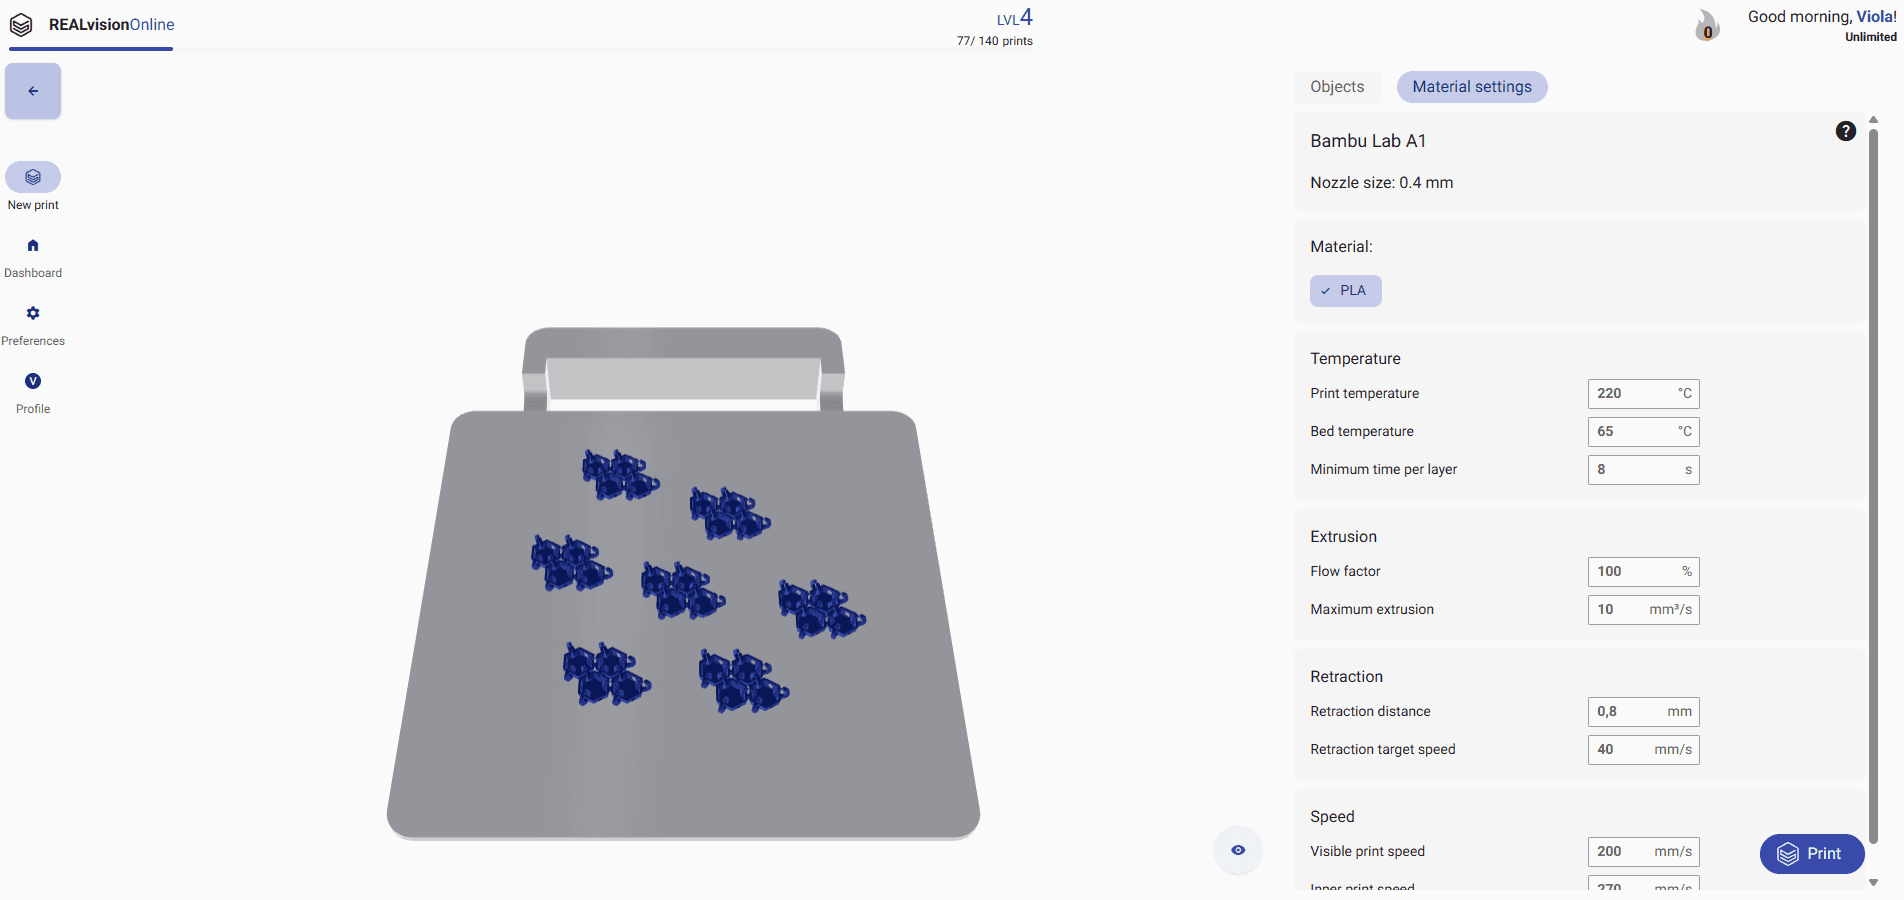
When you have made a free account, upload your .stl file and view your keychain as your 3D printer will approach it.
When done, press the red button in the right bottom corner to start the slicing process.
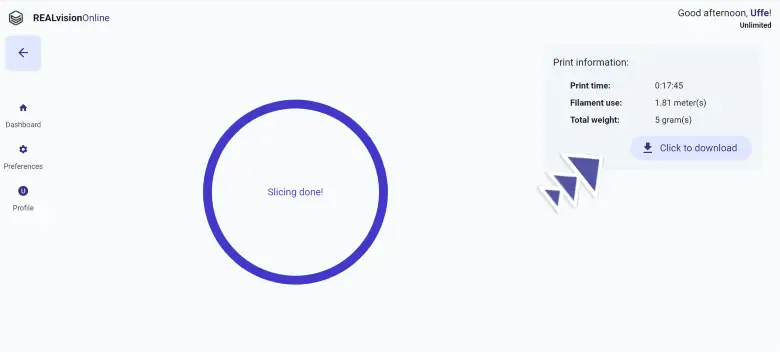
When the slicing is done, you will see an estimated length for your print together with the amount of filament you will need. Hit the red button in the right corner to download the G-code filethat your 3D printer can use.
How to 3D print your keychain
Congratulations if you have managed to get so far in your product development process. Now you know how to use basic 3D design software. The least challenging part of making your own keychain is printing it, as the printer does all the work once you first have stated it.
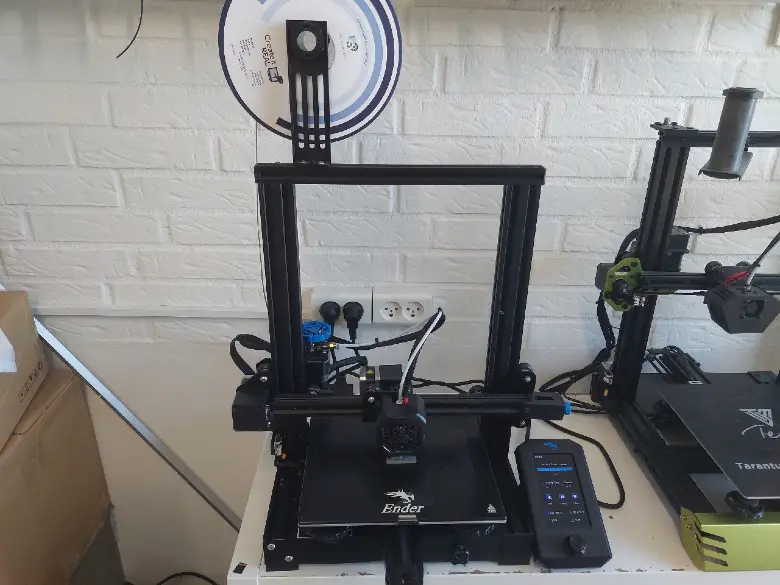
Put your G-code on an SD card or a USB drive to get your printer started, depending on which printer you have.
This time I have decided to use a Creality Ender 3v2 printer to keep it simple.
To start the print, you:
Insert the SD-card/USB stick in the printer
Find your file on the display
Check that you have enough filament before printing
Click print
How did the printing go?
The first print I made was my own creation of a keychain. It went out well and took only about 15 min. I would like to make the edges more curved, so that is for my next print. I would also like to paint the name and the beard, so it is not grey in grey.
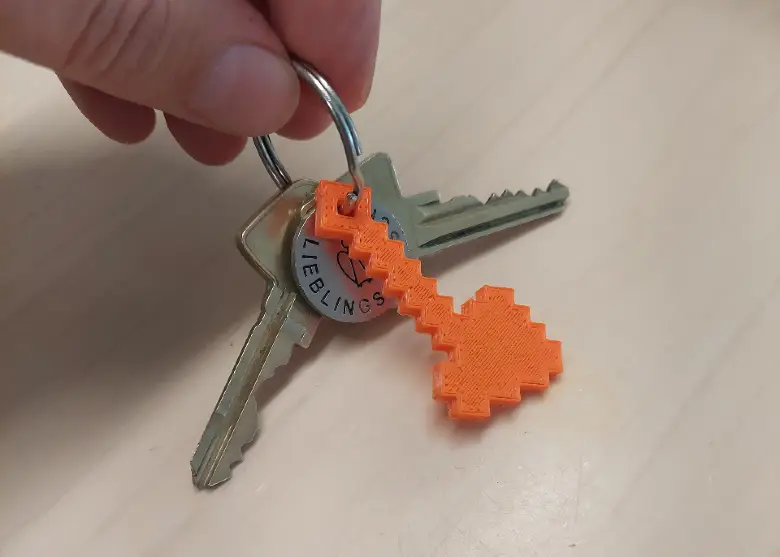
As a huge Minecraft fan, I was ecstatic when I saw that the user GASmakerspace had made models of the tools from the game available on Thingiverse, so I also printed them. Here’s a picture with the ax, and as you can see, this print also went well, so now I have plenty of keychains to choose from.
Now it is time to 3D print your own keychain
I hope you now have a good feeling about how to 3D print your own keychain. Probably you have already started? Either way, I wish you fun while you print.
Remember you can use REALvision Online to slice your keychain for free. Just click the “Start slicing” button in the bottom corner of this page.
Good to know – General terms related to 3D printing
CAM / Slicer 3D printing software A CAM software in 3D printing is also most commonly called a slicer. Slicers are used to create Gcode files which are the print files file-format used by a 3D printer. For beginner and intermediate users, you can use online slicers like the online slicer REALvision online; or for expert users, you can use slicers like Realvision Pro, Cura, Ultimaker Cura, Simplify 3D, Creality slicer or Slic3r. A slicer lets you manipulate the STL and then takes a planar cut or cross-section cut of your STL 3D design and automatically generates the movement instruction of your 3D printer (the toolpath or the pathfinding line) as well as all the repositioning and print strategy of the 3D printer. The filename generated from the slicer or CAM is called a GCODE file and the file format is a .gcode. You can usually simulate the 3D print result by looking at a slicer 3D viewer.
CAD / 3D CAD software CAD stands for Computer Aided Design, it is the software part of CAD-CAM software where you create 3D models (3D designs) or more precisely create your 3D models (actual 3D geometries), you can use beginner CAD software like Tinkercad, Google Sketchup or more advanced CAD like Autodesk Inventor, using Solidworks, Catia 3DS, Autocad or even parametric CAD design software like Openscad (customizable script based CAD software), Rhino, or Rhino 3D grasshopper. All CAD software can export a CAD file under different file formats, but without a doubt, the most popular one is the STL file format.CAD-CAM A cad-cam solution is the combination of creating a 3D design, preparing the manufacturing of the part and ultimately automatically manufacturing the party using a FDM 3D printer or a 3D printing service (like shapeways, or 3Dwarehouse).
STL files STL files are three-dimensional geometries CAD files based on a list of triangles defining the wireframe or the outside shell of the 3D object geometry. There are two types of STL files: they can be ASCII or Binary. The binary STL file-format are more size optimized (takes less byte size) while the ascii STL file-format is human readable (can be opened in a text editor) and defines the tessellation (list of triangles creating the 3D polygon). To define a triangle the STL file format is a list of triangles made from 3 vertex or 3D vectors. Of course, there are a lot of triangles and they are fairly small so those triangles next to each other define the meshes of your STL 3D print file.
Marketplace If you are not confident in designing your STL 3D files yourself or you don’t have a clear visualization of a 3D CAD model, you can download a lot of STL files for free on websites like Thingiverse or Cult 3D where there are thousands of free STL files to choose from.
GCODE files Gcode files are the files used for 3D printing. There are two types of Gcode files they can be ASCII or Binary, the Ascii files have a bigger file size and are human readable, while binary files are not human readable. You can easily preview an Ascii Gcode instruction by opening it in a text editor. The file extension or file format is .gcode and is generated from a CAM software usually named a slicer.
3D printers If you have bought a cheap desktop 3D printer like an FDM printer from Creality but you are not satisfied with the quality of the Creality slicer, then you are not the only one. Historically those printers were sold as kits for 3D printer enthusiasts developing 3D printers themselves such as the reprap project. Today most 3D printer enthusiasts just want to spend time on printing and not on fixing the 3D printer. This is why slicing and the slicing software are a big part of the success of 3D printing.
Filament In Fused Filament Deposition technology, also known as Fused Filament Fabrication or Fused Deposition Modeling, the spool of filament is the material used to build the 3D part by melting the plastic out of the nozzle of the 3D printer. The printer extrudes the filament line by line, layer by layer, by increasing the z axis, and will build the 3D printed part.